前回は自作でPCワゴンを作製しましたが、まだ木材が余っていたので、今度はPC台を作製してみることにしました。
ベニヤ板をPCモニターが乗る大きさとキーボードが収納できる大きさにカットします。
![](https://i0.wp.com/single-ticket.net/wp-content/uploads/2023/05/s-P1264491.jpg?resize=644%2C483&ssl=1)
柱の部分です。
![](https://i0.wp.com/single-ticket.net/wp-content/uploads/2023/05/s-P1264492.jpg?resize=644%2C483&ssl=1)
両端を固定しておしまい。
一瞬で完成です。笑
![](https://i0.wp.com/single-ticket.net/wp-content/uploads/2023/05/s-P1264493.jpg?resize=644%2C483&ssl=1)
…が、これだけでは脆い…。
指で押しただけでこんなに歪む。これはまずい。
![](https://i0.wp.com/single-ticket.net/wp-content/uploads/2023/05/s-P1264494.jpg?resize=644%2C483&ssl=1)
![](https://i0.wp.com/single-ticket.net/wp-content/uploads/2023/05/s-P1264495.jpg?resize=644%2C483&ssl=1)
背面に柱を追加することにしました。
3面で支えれば少しは耐荷重も大丈夫だろうっていう考えです。
![](https://i0.wp.com/single-ticket.net/wp-content/uploads/2023/05/s-P1264498.jpg?resize=644%2C483&ssl=1)
![](https://i0.wp.com/single-ticket.net/wp-content/uploads/2023/05/s-P1264496.jpg?resize=644%2C483&ssl=1)
ダメでした。笑
ベコベコ。
![](https://i0.wp.com/single-ticket.net/wp-content/uploads/2023/05/s-P1264500.jpg?resize=644%2C483&ssl=1)
モニターを乗せる板が弱いのが原因なので、ベニヤ板を合わせて強化します。
![](https://i0.wp.com/single-ticket.net/wp-content/uploads/2023/05/s-P1264502.jpg?resize=644%2C483&ssl=1)
カットして重ねて、試すこと数度。
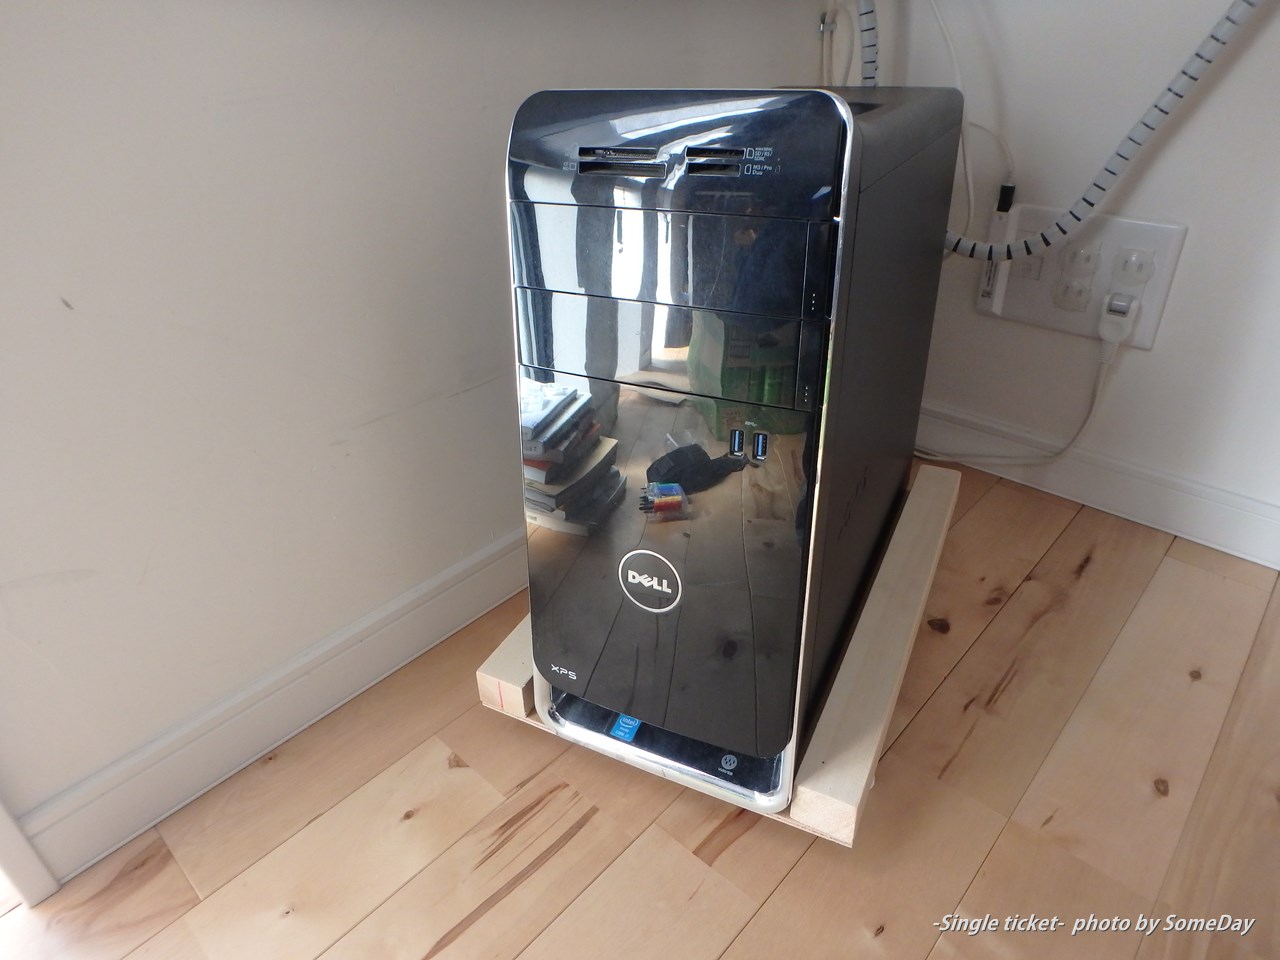
無事にモニターを任せられる枚数は4枚となりました。
パッと見はかなり良い感じ。
![](https://i0.wp.com/single-ticket.net/wp-content/uploads/2023/05/s-P1264503.jpg?resize=644%2C483&ssl=1)
近くで見ると作業の雑さが目立つ仕様。
まぁ自分しか使わないから気にしない気にしない。
![](https://i0.wp.com/single-ticket.net/wp-content/uploads/2023/05/s-P1264505.jpg?resize=644%2C483&ssl=1)
キーボードも使わない時は収納できるようになっているので、スマートになりました。
![](https://i0.wp.com/single-ticket.net/wp-content/uploads/2023/05/s-P1264507.jpg?resize=644%2C483&ssl=1)
全体像。
時間があったらペンキで色を塗ってもいいかもしれないです。
![](https://i0.wp.com/single-ticket.net/wp-content/uploads/2023/05/s-P1264508.jpg?resize=644%2C483&ssl=1)
以上、雑なDIYで作るPC台でした。
参考にされる場合はモニターの重さに気を付けてください。笑
おわり
コメント