アッパーカウルステーを修理している間に、割れが見つかったSRX250のカウルを修理していきます。
過去に割れてしまった箇所をプラリペアにて補修していましたが、表面の割れ跡が気になっていたので、この機会に補修することにしました。
![](https://i0.wp.com/single-ticket.net/wp-content/uploads/2024/02/s-P1146137.jpg?resize=644%2C483&ssl=1)
まずは現状。
プラリペアで補修しているので、ガッチリ固定されています。
![](https://i0.wp.com/single-ticket.net/wp-content/uploads/2024/02/s-P1146138.jpg?resize=644%2C483&ssl=1)
ですが表面の割れが気になるので、塗装含めてきれいに仕上げていきます。
まずはリューターを使ってプラリペアの補修跡を削り取りました。塗装部分はパテを使って下地から仕上げる形です。
![](https://i0.wp.com/single-ticket.net/wp-content/uploads/2024/02/s-P1146164.jpg?resize=644%2C483&ssl=1)
下地はプラリペアで形成していくので、マスキングテープを貼って型を整えます。
カウルの形状に合わせてマスキングテープを貼ります。
![](https://i0.wp.com/single-ticket.net/wp-content/uploads/2024/02/s-P1146166.jpg?resize=644%2C483&ssl=1)
そしてプラリペアを流し込みます。
色自体は透明なので、マスキングテープの色を透過して白色に見えています。
![](https://i0.wp.com/single-ticket.net/wp-content/uploads/2024/02/s-P1146169.jpg?resize=644%2C483&ssl=1)
乾いたところで表面(塗装面)の凸凹を整えていきます。
#600の耐水ペーパーを使っておおよそ面を平らにしました。
![](https://i0.wp.com/single-ticket.net/wp-content/uploads/2024/02/s-P1156193.jpg?resize=644%2C483&ssl=1)
created by Rinker
¥103
(2024/07/27 11:47:27時点 楽天市場調べ-詳細)
新聞紙を使ってマスキングして、下地の仕上げに移ります。
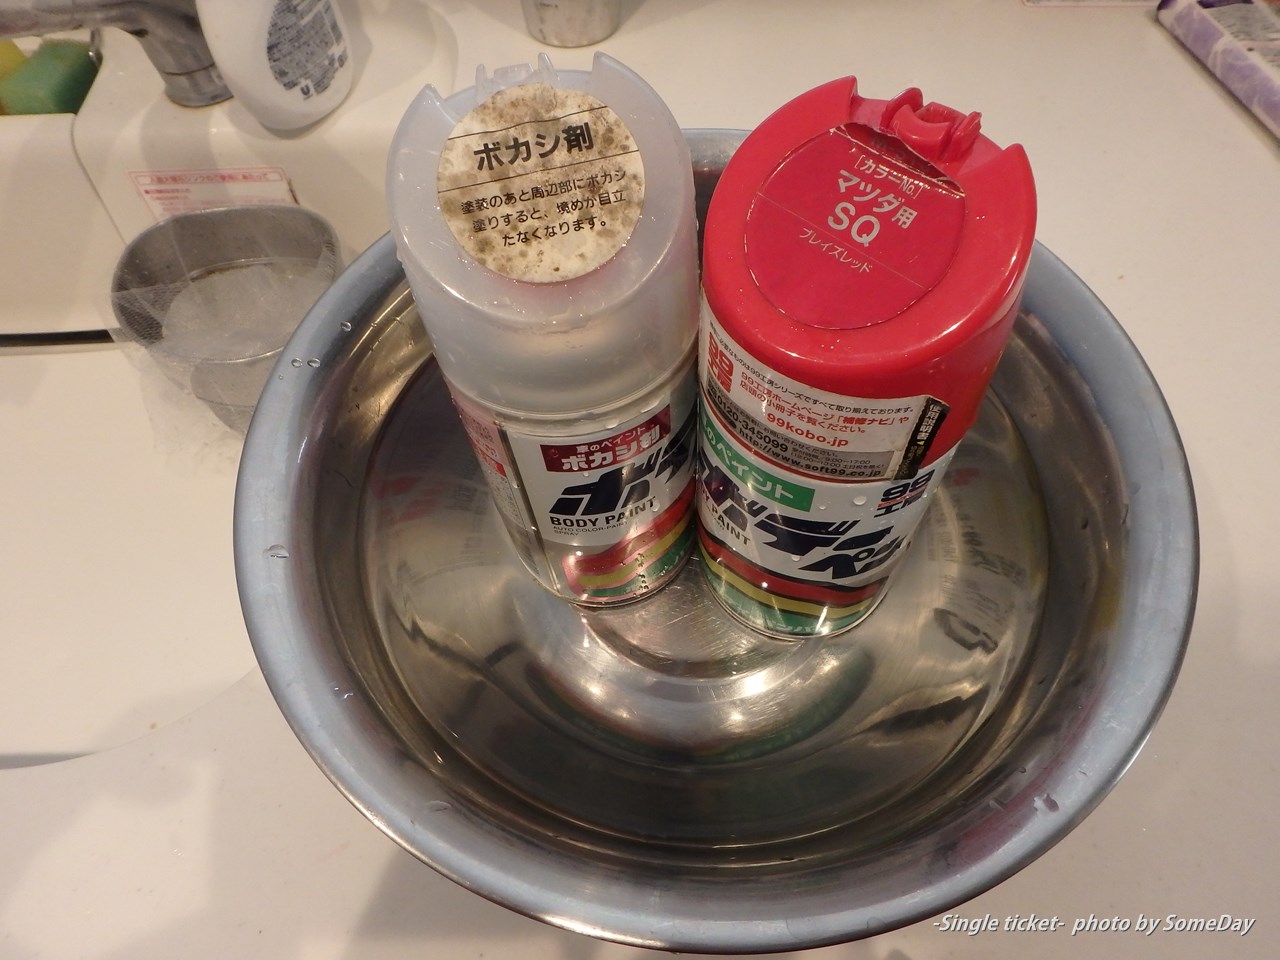
プラスチックプライマーを塗布して表面の接着をあげ、プラサフを塗布します。1回塗布後。
![](https://i0.wp.com/single-ticket.net/wp-content/uploads/2024/02/s-P1156195.jpg?resize=644%2C483&ssl=1)
created by Rinker
¥1,580
(2024/07/27 09:35:56時点 楽天市場調べ-詳細)
少し凹みがあり、これはプラサフでは補修できないのでパテを使って埋めていきます。
乾くと少し引けてくるので、多めに盛り込んでいきます。
![](https://i0.wp.com/single-ticket.net/wp-content/uploads/2024/02/s-P1156198.jpg?resize=644%2C483&ssl=1)
そして再び#600→#400の順に耐水ペーパーを使って整えていきます。
手で触って分からなくなるくらいまでひたすら繰り返し整えていきます。
![](https://i0.wp.com/single-ticket.net/wp-content/uploads/2024/02/s-P1216223.jpg?resize=644%2C483&ssl=1)
created by Rinker
¥103
(2024/07/27 08:50:12時点 楽天市場調べ-詳細)
整えたところでプラサフを再び吹いていきます。
![](https://i0.wp.com/single-ticket.net/wp-content/uploads/2024/02/s-P1246255.jpg?resize=644%2C483&ssl=1)
![](https://i0.wp.com/single-ticket.net/wp-content/uploads/2024/02/s-P1246257.jpg?resize=644%2C483&ssl=1)
プラサフが周辺に飛び散っています。
後々塗装した時に面倒なのでこの段階で落としていきます。
![](https://i0.wp.com/single-ticket.net/wp-content/uploads/2024/02/s-P1246262.jpg?resize=644%2C483&ssl=1)
![](https://i0.wp.com/single-ticket.net/wp-content/uploads/2024/02/s-P1246263.jpg?resize=644%2C483&ssl=1)
周辺に飛び散ってしまったプラサフはラッカー薄め液を使って落としていきます。
![](https://i0.wp.com/single-ticket.net/wp-content/uploads/2024/02/s-P1246264.jpg?resize=644%2C483&ssl=1)
created by Rinker
¥453
(2024/07/27 12:43:21時点 楽天市場調べ-詳細)
![](https://i0.wp.com/single-ticket.net/wp-content/uploads/2024/02/s-P1246265.jpg?resize=644%2C483&ssl=1)
これにて塗装下地の作製は完了。
次回は仕上げである塗装編になります。
登場商品一覧
created by Rinker
¥103
(2024/07/27 11:47:27時点 楽天市場調べ-詳細)
created by Rinker
¥1,580
(2024/07/27 09:35:56時点 楽天市場調べ-詳細)
created by Rinker
¥103
(2024/07/27 08:50:12時点 楽天市場調べ-詳細)
created by Rinker
¥453
(2024/07/27 12:43:21時点 楽天市場調べ-詳細)
おわり
コメント